build123d-template
A Cookiecutter template for build123d CAD projects: a parametric part, STL and STEP export, the OCP CAD Viewer for VS Code, and CI that checks the code and builds the parts on every push and publishes them on each release tag.
Quickstart
Create Project from Cookie Cutter Template
uv tool install cookiecutter
cookiecutter https://github.com/CameronBrooks11/build123d-template.git
You will be prompted for six values—here’s how to fill them:
project_name
The name of your project directory and GitHub repo. Use hyphens, not spaces (e.g.my-cad-project, the default).package_name
The Python import name. Must be a valid identifier (lowercase, underscores only). The default isproject_namein lowercase with hyphens replaced by underscores (e.g.my_cad_project); press Enter to accept it.author_name
Your full name for metadata (e.g.Jack Daniel).email
Your contact email (e.g.jdrocks@email.com).version
Typically this should be the initial version using SemVer (e.g.0.1.0).project_description
A short, descriptive tagline for your project (e.g.A build123d CAD project for robotics prototypes).
Next navigate into your newly created project using the
project_name you entered:
cd project_nameInstall it and make your first commit
Install the project, then commit it together with the
uv.lock that just setup writes:
just setup
git init
git add .
git commit -m "Initial cookiecutter scaffold"
The lock file pins every dependency, so CI and anyone who clones the
project get the same build123d and OCP versions you developed against.
Without it, each uv sync resolves the newest releases
afresh. uv lock --upgrade moves them forward when you
choose to.
Method 1: Using GitHub CLI (API auth)
If you have the GitHub CLI installed and authenticated via
gh auth login, run:
gh repo create OWNER/project_name --public --source . --remote origin --pushMethod 2: Using HTTPS & Personal Access Token
If you prefer standard Git commands, do:
git branch -M main
git remote add origin https://github.com/OWNER/project_name.git
git push -u origin main
You will be prompted for your GitHub username and a personal access token (PAT) when pushing over HTTPS.
Usage
A generated project uses uv
for its environment and just for its
tasks. The examples use the package name
my_cad_project.
1. Install the project
just setup, from the project root, runs
uv sync. It creates .venv with the versions in
uv.lock: build123d, the project itself (editable, so
my_cad_project imports from anywhere) and the dev tools
ruff and pyright.
2. Build a part
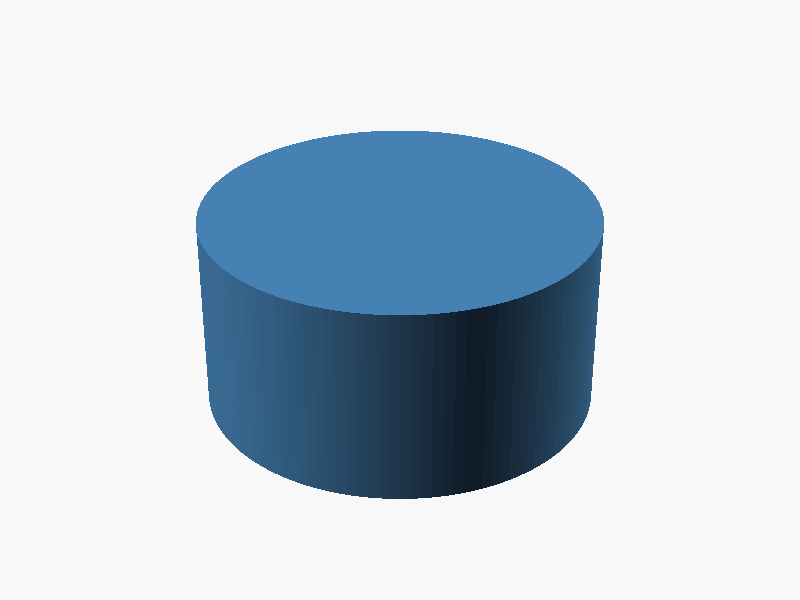
uv run python -m my_cad_project.part1The script builds the part, shows it in the OCP CAD Viewer if the
viewer is running in VS Code, and exports part1.stl and
part1.step to build/ in the project root.
just parts builds every module at the top of the package
the same way, and fails if any of them fails.
3. Check the code
just checkThis checks formatting, lints with ruff and type-checks with pyright.
just fmt fixes the formatting and import order.
4. Add a part
Copy part1.py to a new module at the top of the package,
such as part2.py. Rename Part1Spec and
make_part1 to match, change the geometry, and give the
export a new name. uv run python -m my_cad_project.part2
builds it, and just parts picks it up. Shared code goes in
utils/, which just parts does not run.
CI and releases
lint-and-test.yml runs just check and
just parts on every push. cad-release.yml runs
on tags starting with v: it runs the same recipes, then
publishes a release with each file in build/ attached,
named with the tag (for example part1-v0.1.0.stl).
Licence
The template is MIT; see LICENSE.
A generated project gets an MIT LICENSE naming the author
you enter.